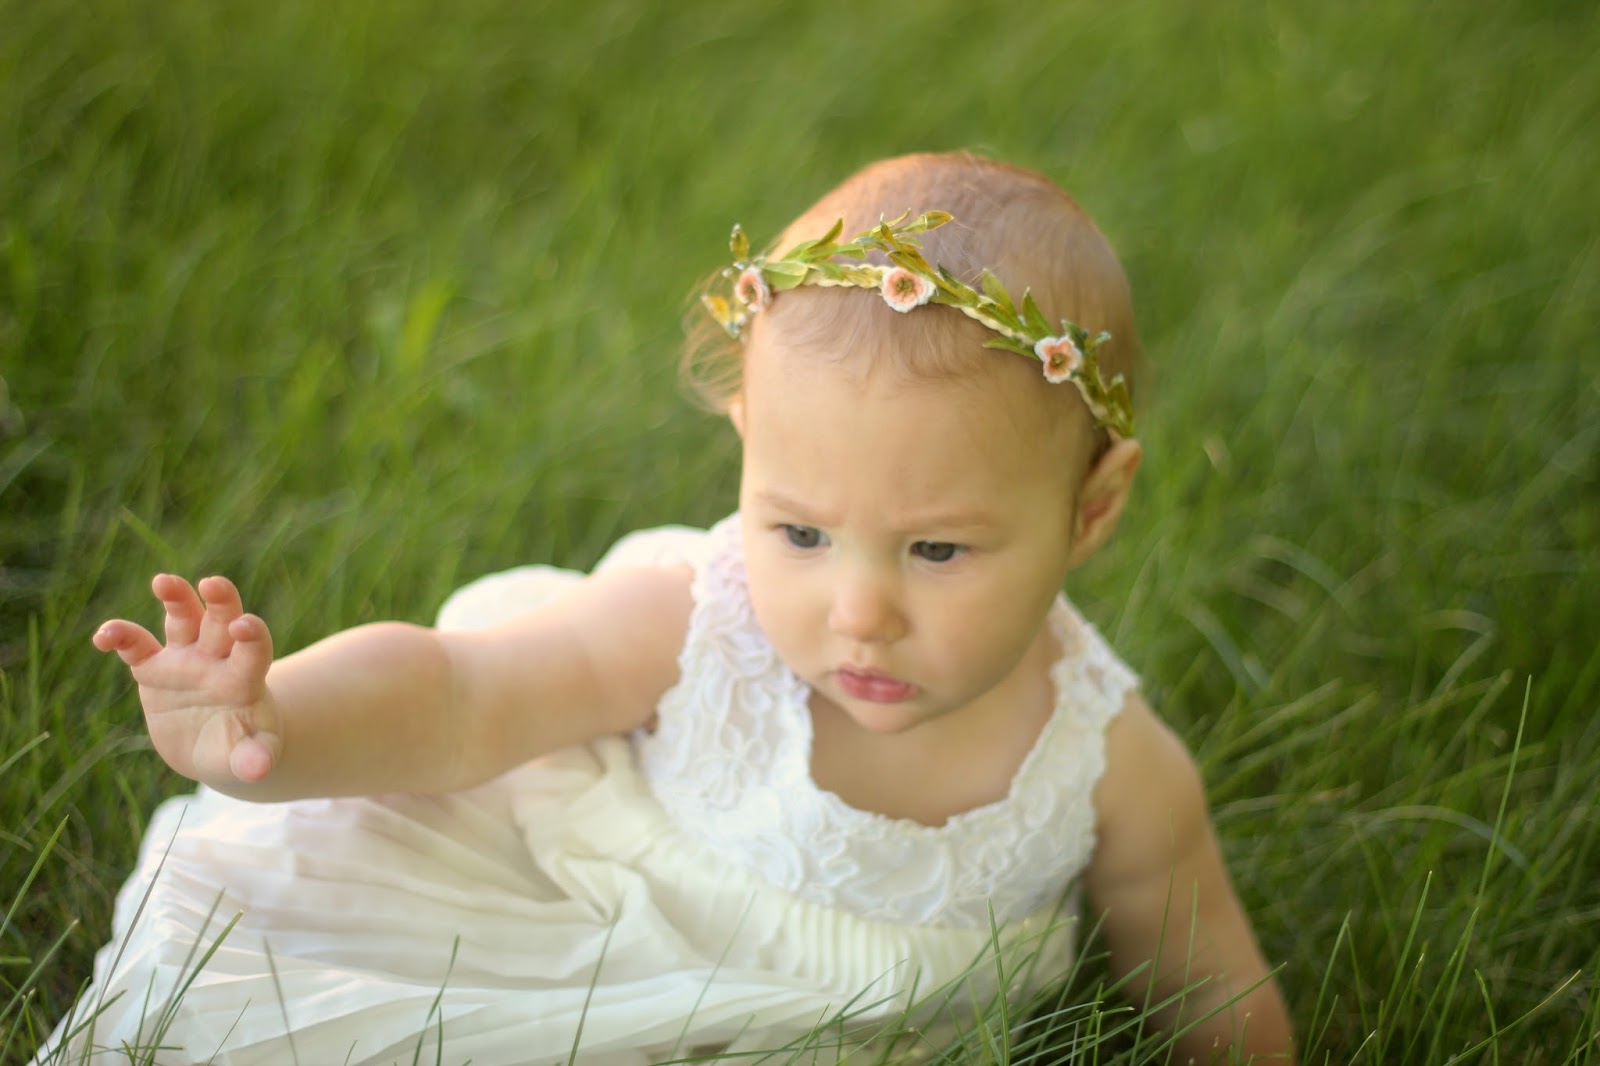
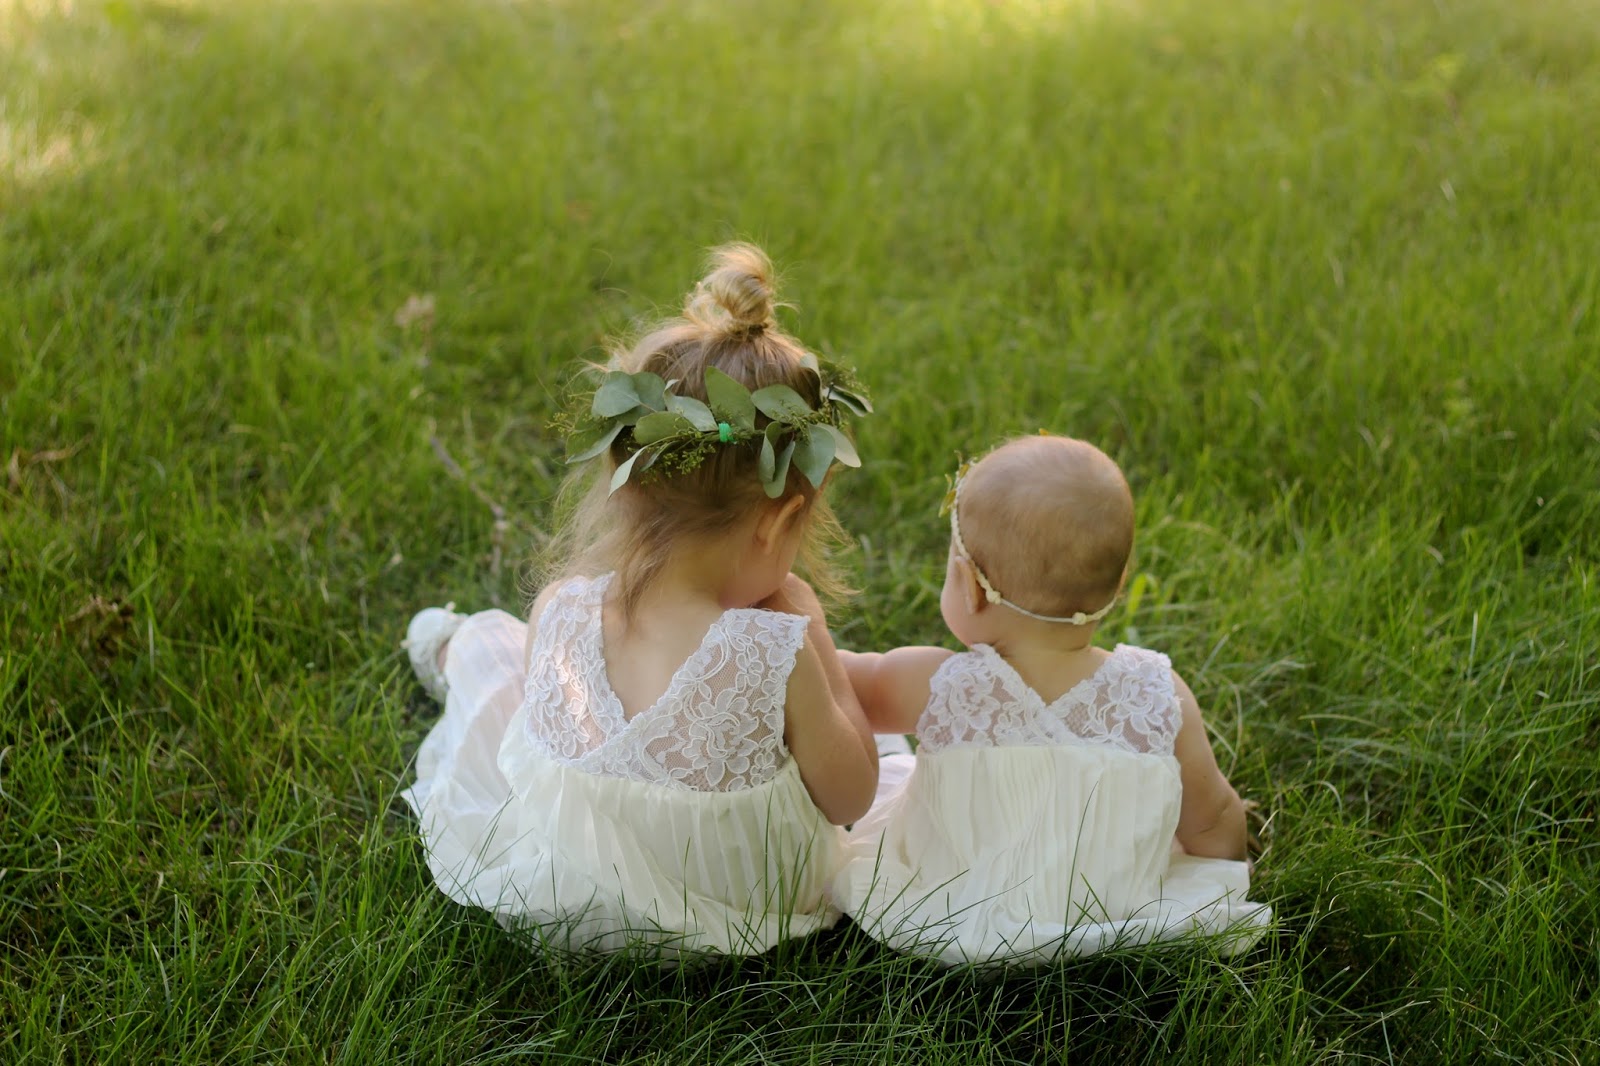
this weekend we officially gained a new aunt/sister and completed the erickson family. evelyn and hazel had the privilege of being the flower girls. the bride had an idea of what she wanted their dresses to look like, and i did my best to recreate them. i think they ended up looking pretty adorable in them! congratulations dillon and courtney, we love you guys!
Showing posts with label creations. Show all posts
6.27.2016
11.16.2015
end tables and ottomans
when cody and i purchased our couch, we quickly realized we were in need of some tables or an ottoman to replace our large ottoman tray we had been using previously. we settled on some inexpensive tables from ikea with plans to change them up and better fit our aesthetic.
i spray painted the bases in oil-rubbed bronze to give the look of metal legs. I also tried adding some padding and fabric to the tops to make an ottoman, but cody and i agreed it just did not look right. he offered to make some wood tops instead so we could use them as end tables.
we used pine that we purchased from the hardware store and i stained it using american walnut stain. we then glued the wood to the base and ended up loving how they looked. of course, we were still need of an ottoman! as it turns out, ottomans aren't too difficult to make either. cody made a simple wooden box using plywood. i lost all the pictures i had taken of this process, unfortunately, but i'm sure they weren't that interesting anyway. after he was finished, i covered the box with 4" foam and batting. i found a beautiful gray herringbone fabric from joann fabrics and sewed a covering that was stapled onto the base. the legs were purchased from home depot, along with mounting brackets, and stained in the same american walnut stain as the table.
what i love most about the ottoman is the height. i wasn't sure how comfortable it would be to have an ottoman that is lower than the couch, but it actually is very comfortable. it is also the perfect height for toddlers! and thankfully, it is also very sturdy for all the climbing and bouncing that happens on it daily.
11.13.2014
baby slippers
it seems as if winter has officially arrived. i haven’t decided exactly how i feel about that yet, but i do know that trying to keep an active crawler warm is a whole different ballgame than trying to keep an immobile newborn warm. where i would once knit tiny little booties to keep little toes warm, i must now provide warmth, comfort, easy mobility and traction for our slippery wood floors.
evelyn and i were suffering from a bit of cabin fever this
week, thanks to all the snow, so we ventured out to grab some supplies for her
new slippers. we found a perfect old
sweater at goodwill and some non-slip fabric at jo-ann’s. i used this pattern, but i added extra
ribbing on top in order to allow the boot to fold over. i followed the tutorial provided, except i
left sewing the tube together for last.
since knitted material tends to stretch, i found it was much easier to
gauge how much i would need after it was attached to the sole. i ended up cutting off quite a bit of fabric
compared to the pattern provided. the entire project only took about an hour to complete. i had to refrain from waking her up from her nap in order
to try them on her. once she woke up,
however, they were a perfect fit.
9.09.2014
five minute headbands
when i was pregnant with evelyn, i found this 5 minute legging tutorial. i was able to make a couple pairs before her arrival and loved how simple the process was. while looking for skirts to make leggings out of, i came across some bow clips and decided to make my own five minute headbands, no sewing required!
for supplies, you will need bow tie hair clips, elastic, and a hot glue gun. forever 21 has tons of adorable hair clips. i was able to get a three pack for $2.80 plus 20% off and free shipping. they also carry many different sizes. i chose the smallest size for evelyn. the elastic i chose was from jo-ann. if it is too thin it always seems to leave a mark, but if it is too thick it won't fit the bow. the elastic i chose was the perfect width and had a nice lace detail to make the headband even cuter.
the first, and definitely most time consuming, step is to peel off the fabric connecting the bow. it is hot glued on, but you must be careful not to rip it as you will need to use it again. some of the bows were easy while others while stuck on pretty tight.
once the bow is unwrapped, you can glue on one side of your elastic.
after gluing down one side and allowing it to dry, measure around your child's head to get a good fit. i like to make sure not to stretch it at all so the headband will be able to be worn longer.
after measuring the elastic, cut and glue down the second end. you can then rewrap the piece of fabric that you took off earlier and use your glue to secure it.
and that is it! my favorite thing about this project is you can remake them once they outgrow them and keep using the original bow. i also kept the clip in case i want to reattach them when the headbands no longer work. and if you have boys, i think these would make the cutest little bow-ties!
5.07.2014
command center
one of my goals last summer was to finish up our guest bedroom/office space. i grossly overestimated the additional time it would take to complete projects while pregnant. i'm still amazed at how tired i was every. single. day. thankfully, i was able to finish the room before our little bug arrived.
i blogged before about our office desk, which was a key piece to this room. i decided to add a command center above the desk as a way to keep the small office space we have organized while still making the room appealing for guests.
i purchased some black frames from ikea and filled them with an adhesive white board i found at office max, cork board found at jo-ann fabrics, and fabric/ribbon that i put together myself.
the utensil holder was also purchased from ikea and the mail organizer was found at home goods.
i love how the room turned out, but have yet to get in there to photograph it! it usually ends up being a good place for clean laundry to get dumped since we don't typically have many guests staying overnight. although i'm sure boston wouldn't mind having a few more sleeping buddies these days!
1.09.2014
made with love
nesting. an impending sign of labor, so they say. for some people that means scrubbing their house top to bottom. for others, it means cooking and baking up a storm. for this girl, it meant making precious things for my little babe. i shared previously some of the nursery decor i had made for her, so today we are talking wardrobe. knitting, sewing, and painting were all fair game and good time killers as i tried to keep evelyn inside of me a little bit longer.
i sat these little booties on my nightstand and stared at them each night, imagining how cute she would look in them. they are currently the only thing i own that fit her tiny little feet. and of course, she looks cuter in them than i had ever imagined.
1.07.2014
gender neutral nursery nook
on january 1st, we welcomed our baby girl evelyn emma into the world. as you can see, she is absolutely perfect. and although she is all i really want to talk about, this post is about her nursery. ironically, i started writing this post on december 31st, but was interrupted by my water breaking. now i get to finish while cuddling with her in my arms-way better.
due to the size and layout of our home, we decided to keep evelyn's nursery in our room. here is what our bedroom looked like before the arrival of our little.
and here is how that little nook was actually used:
to make room for the crib, we moved the oversized chair out of the nook. we also rearranged the bed so we can have a nice view of evie as she slumbers. many of the pieces used in the nursery we already had, such as our bookshelf, reading chair, and dresser. but enough talking, here is little miss evelyn's nursery nook:
for those of you interested, i have provided a list of where all the goods can be found!
mobile: handmade with scraps of leather purchased from here
wooden toys: thrifted
baskets: jo-ann fabric
clock: ikea
stuffed animals: mama's hand-me-downs
floor bin: land of nod
sheepskin rug: ikea
crib: baby mod
elephant: ikea
crib sheets: target
curtains: ikea
lanterns: target
bookshelf picture frames: ikea
hanging picture frames: target
art work: handmade
lamps: target
changing pad cover: aden & anais
pom pom garland: handmade
moses basket: target
chair: ikea {more info about the chair can be seen here. i could probably write another post about this chair, but instead will sum it up like this: it came with legs, we purchased a swivel glider part here in which cody adapted to fit our chair and make it into a super comfy rocker instead}
now that we know she is a girl, we are excited to add some more personal touches {and fill those picture frames!}. i'll leave you with one more picture of the precious little face i get to stare at all. day. long.
we are so in love with you evie girl!