
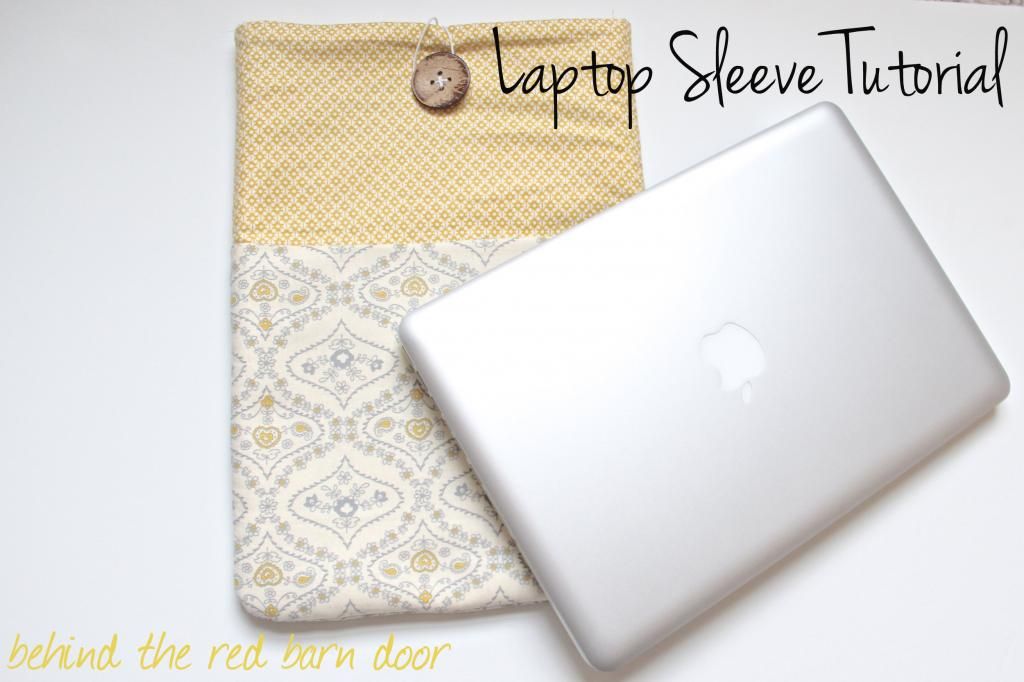
i recently purchased a new computer. it is my baby, so i want to keep it safe and sound. i decided to make my own case, but found little information on how to go about doing that. so here is my attempt to show you how to make your very own laptop sleeve.
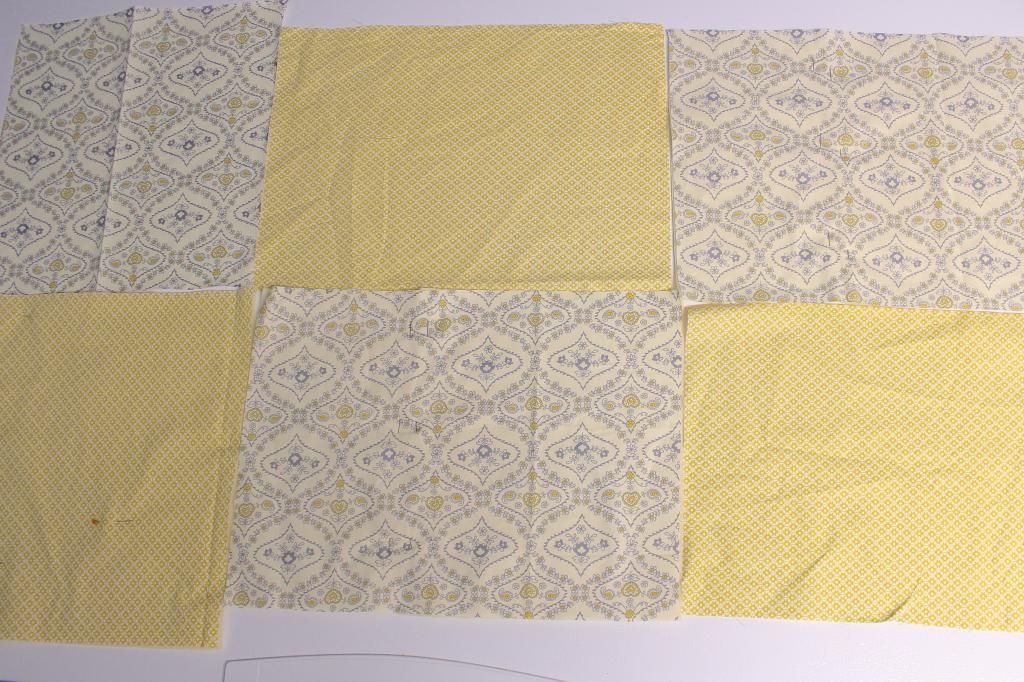
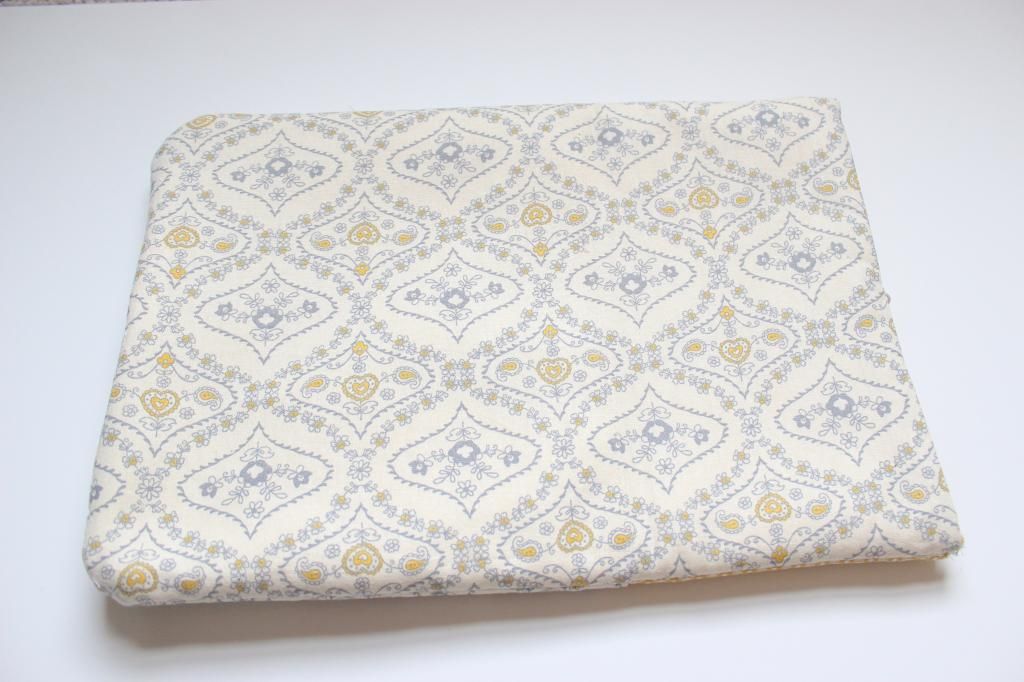
you will need to pick two coordinating fabrics. i bought 1/2 yard of each fabric {from jo-ann}. you will then need to cut six squares. i made this sleeve for a 13" macbook pro. if you have a different computer, you can get the dimensions by measuring around the computer, dividing that number in half, and adding one inch to each measurement. do this to get the width and the length. this will give you 1/2 inch seam allowance. i cut four pieces into 11 inch by 15 inch squares {two of each fabric}. you will also need to cut two smaller pieces {one of each fabric} for the pocket. the measurements i used for this was 11 inches by 9 inches.
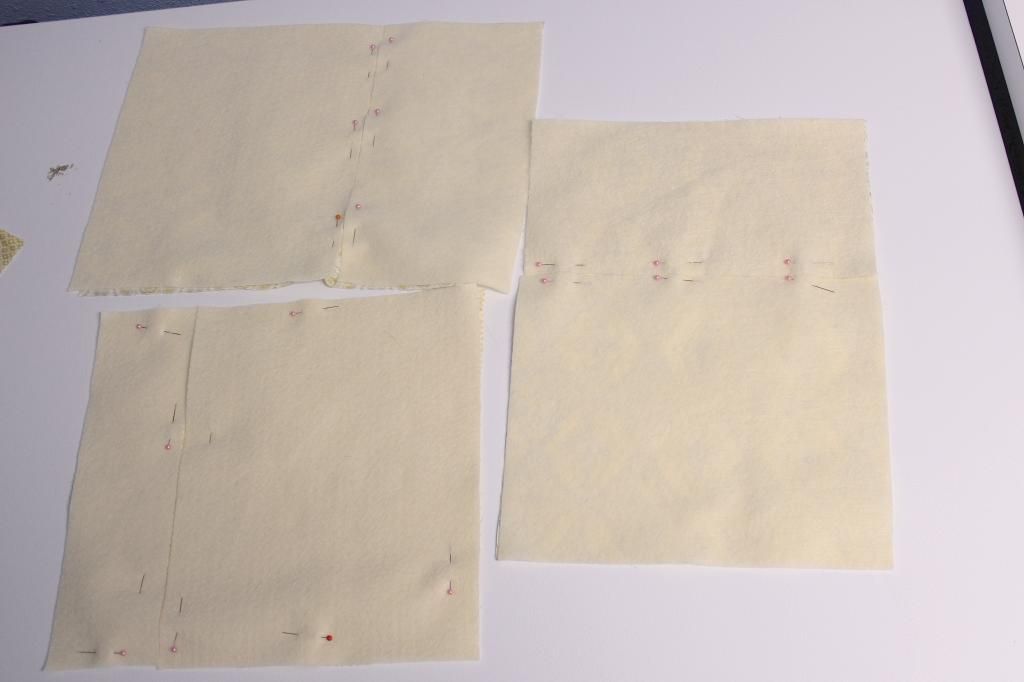
you will also need some type of interfacing to protect your computer. i chose felt. it is fairly thick and very cheap. the pieces i bought were a little small, so i had to piece them together.
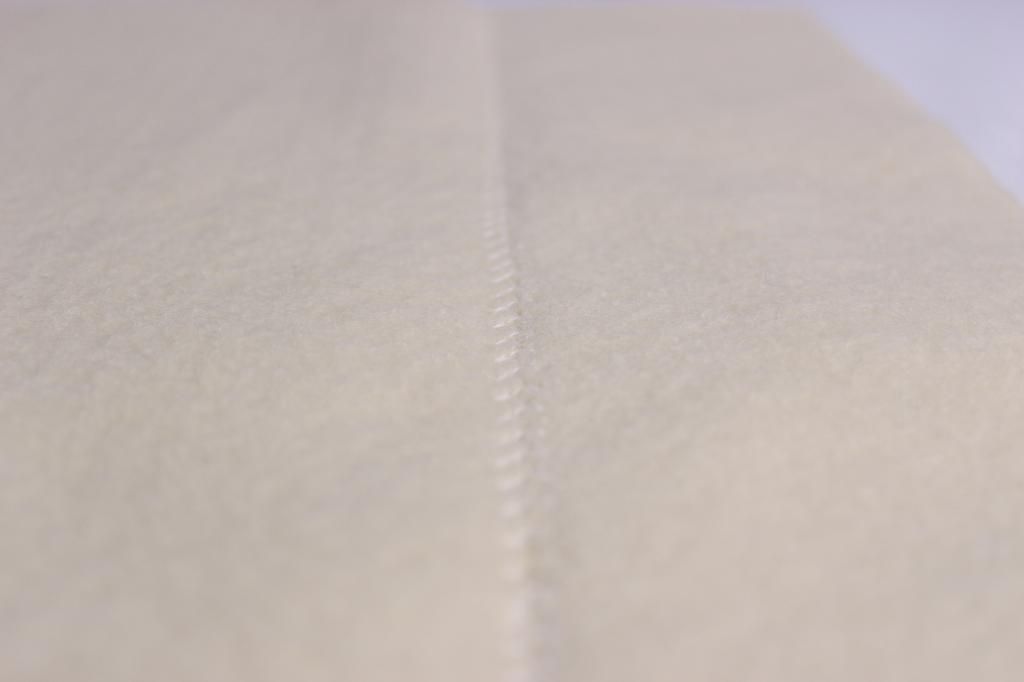
i sewed the pieces together and also used this stitch to attach the felt to the fabric.

since there is a seam, i made sure to sew the felt to the two pieces of fabric that will be facing the inside of the sleeve. another option would be to use iron-on interfacing or simply using an interfacing that is the same size as the fabric squares {you will not need to sew the felt on at all this way and can skip to the next step}.
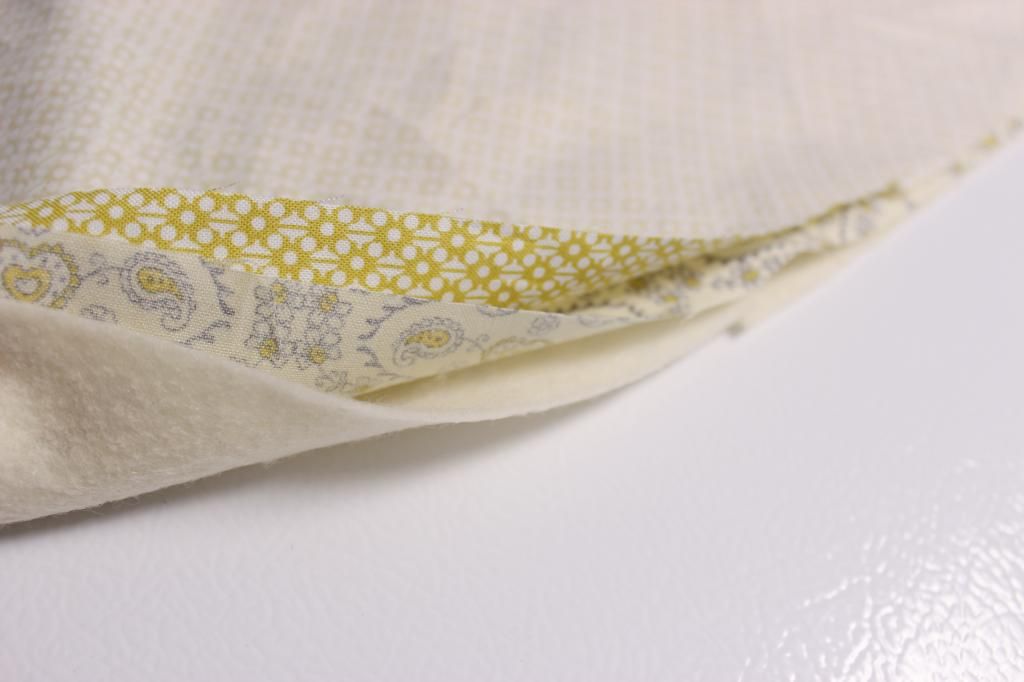
you will then want to sew the tops of the front, back, and pocket together. to do this, you will need one piece of each color fabric and the piece of felt. the photo above shows the order to put the fabric together if you have a hard time picturing it. just remember to put the faces together and the felt on the back of one of the pieces.
you can then flip the fabric so the felt is sandwiched in between. you will need to do this for the front, back, and the pocket.
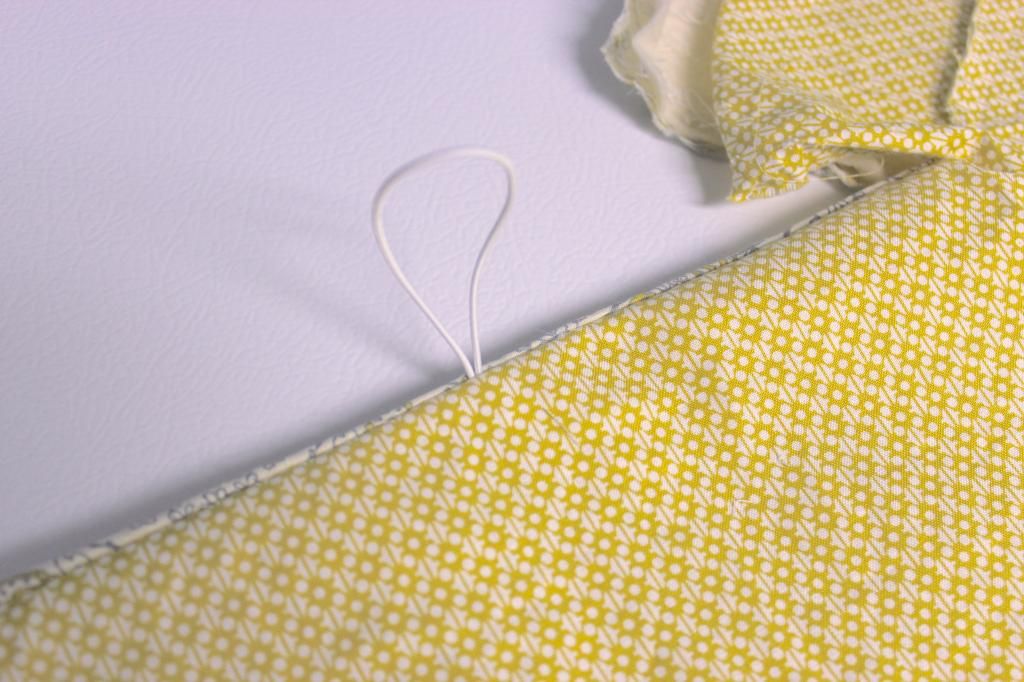
don't forget to add your button hook in between the two fabrics and sew over it to keep it in place. this should be sewn into the back piece of fabric.

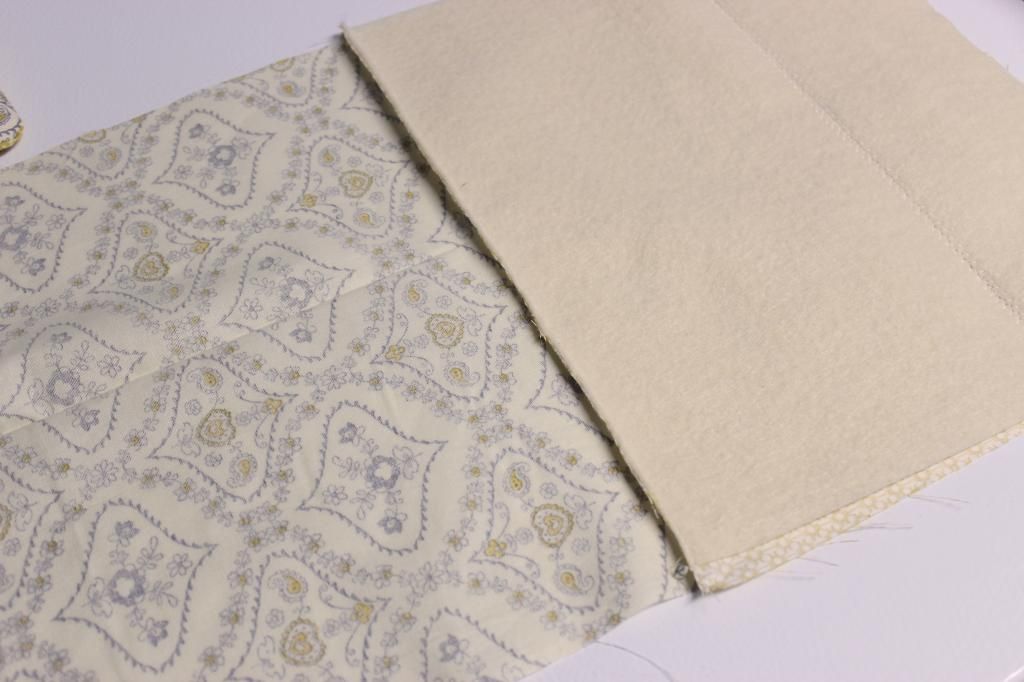
when the tops of all three of your pieces are sewn together, it is time to put the sleeve together. the picture above should help make it clear how to order the pieces. don't forget to use a 1/2 seam allowance and have the sewn edges on the top.
you will sew around both sides and the bottom, leaving the top open for the computer to slip into. hopefully your top will be finished since you sewed the tops together earlier. you can then snip your corners and turn it inside out.
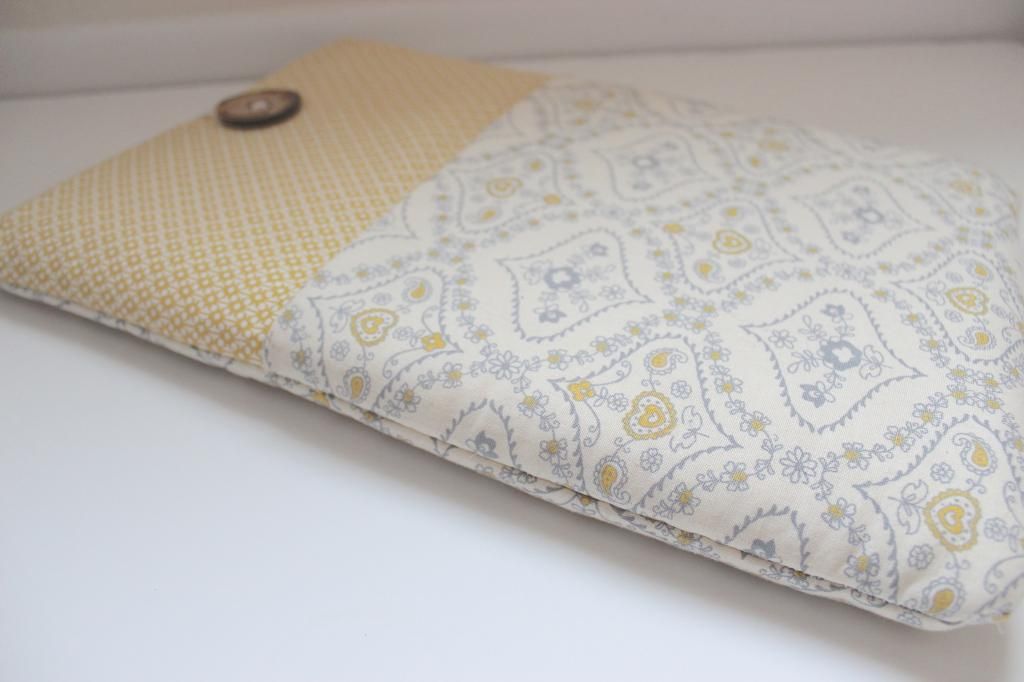
i chose to use different fabric on the back than in the front.

this resulted in different fabric on the inside as well, which i kinda like.
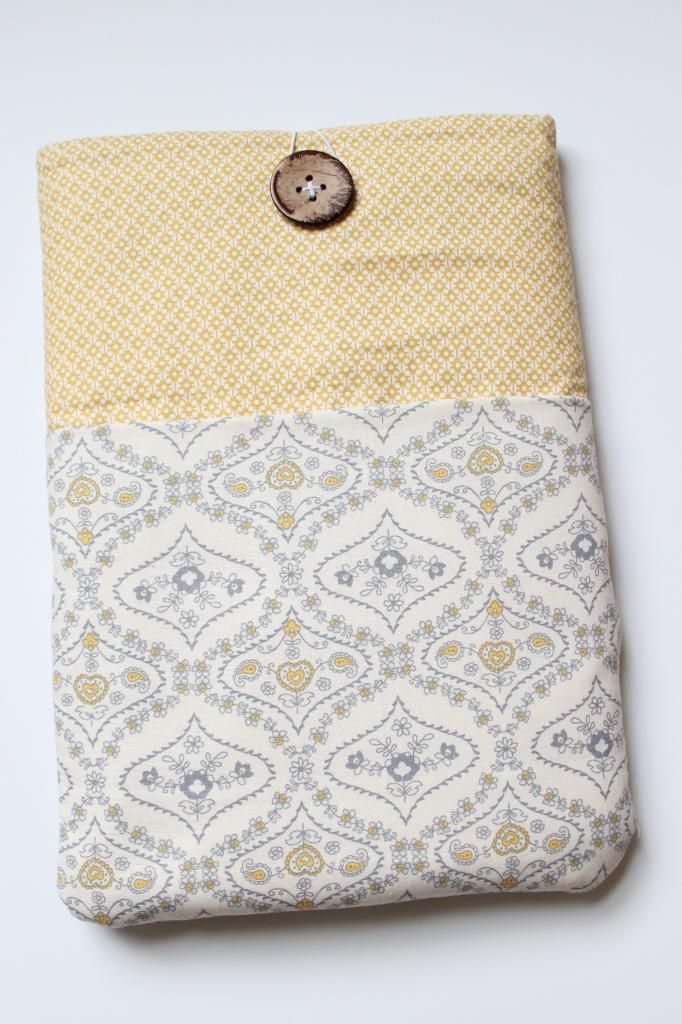
finally, you can add a fun button to the top. now my computer is nice and cozy and super cute.


Love it! I made my own as well, but I used cheap yoga/camping mat and sandwiched it between my corduroy and velour for the padding. I also used snaps Cruz I'm a snappy girl.
ReplyDelete